

The term, “French Dip Sandwich”, used to mean hills of mouth-wateringly juicy, tender, succulent beef, either in chunks or piled high in thin slices, accompanied by a bowl of heavenly juices that the meat simmered in, (au jus), and subsequently were cooked down to a devilish richness for dipping this mile-high wonder in until the bread soaked up every last drop and the taste brought you to your knees!
Other additions such as cheeses, peppers and onions were added upon personal request, and this simple, humble sandwich, was truly a delicacy!
Sadly, if you order a “French Dip” in a restaurant today, you’ll most likely receive a very sad looking, plain and anemic-looking roll with a few slices of flavorless processed deli meat on it and a bowl of cheap, watered-down “beef broth” straight from a vat-sized can. Ugh, right?
I know, made me shiver, too! Pretty gross. Borderline disgusting, really, when you think about it and how much they charge for them! $8-$12 bucks? For that?? I think not. You with me?
To me, personally, there are two different ways to go with this. One is with roast beef sliced thinly, and the other way is to use a less tender cut of meat that has been tenderized by one of many cooking methods, pulled, and left into nice and hearty, sink-your-teeth-into, chunks.
This recipe today, although I do both, is for the latter of the two. One of the best ways to cook an economical, less expensive cut of meat, in this case a chuck roast, is to use a pressure cooker. Please don’t freak out and say you can’t because you’re afraid of them! There’s nothing to be afraid of. It’s no more complicated than an old-fashioned crock pot. Seriously. Have you seen the newest crock pots with so many digital settings that you need a 500 page manual to operate them?? (Mine has “Off”, “Low”, and “High”. I love it. Simple and works.)
Well, pressure cookers are just that simple, too. They have new ones now that “require manuals”, but I have the old-fashioned kind, just like my Mom and Grandma had, and it’s one of the best kitchen tools you can possibly own!
Especially if you have a large family or are on a tight budget, because the pressure tenderizes even the toughest cut of meat to make it filet tender! Actually even more tender than that, really! Fall-apart-melt-in-your-mouth tender! You just can’t beat it! So don’t be scared. I’ll show you how right here.
In the old-fashioned kind like I have, there’s an inner deeper part of the pan. I add enough oil to fill that, just a few tablespoons is all really. Same as you would normally add. I always use vegetable or canola oil because it has a higher “smoking point”. Meaning, that you can heat it to a much higher temperature than other oils such as EVOO before it starts to smoke. Here’s what the inside looks like with the oil…

Get the oil nice and hot, on med-high heat, give the pan a few tilts to totally coat the bottom and add the seasoned meat carefully placing it right where you want it, because once you set it down and it hits the pan, it will stick like glue.
You will not be able to move it. Just leave it be, don’t panic it’s perfectly fine. It will brown beautifully and caramelize and release easily on it’s own when ready.
Brown all sides and place pieces onto a plate as you go along. This should take about 5 minutes per side.
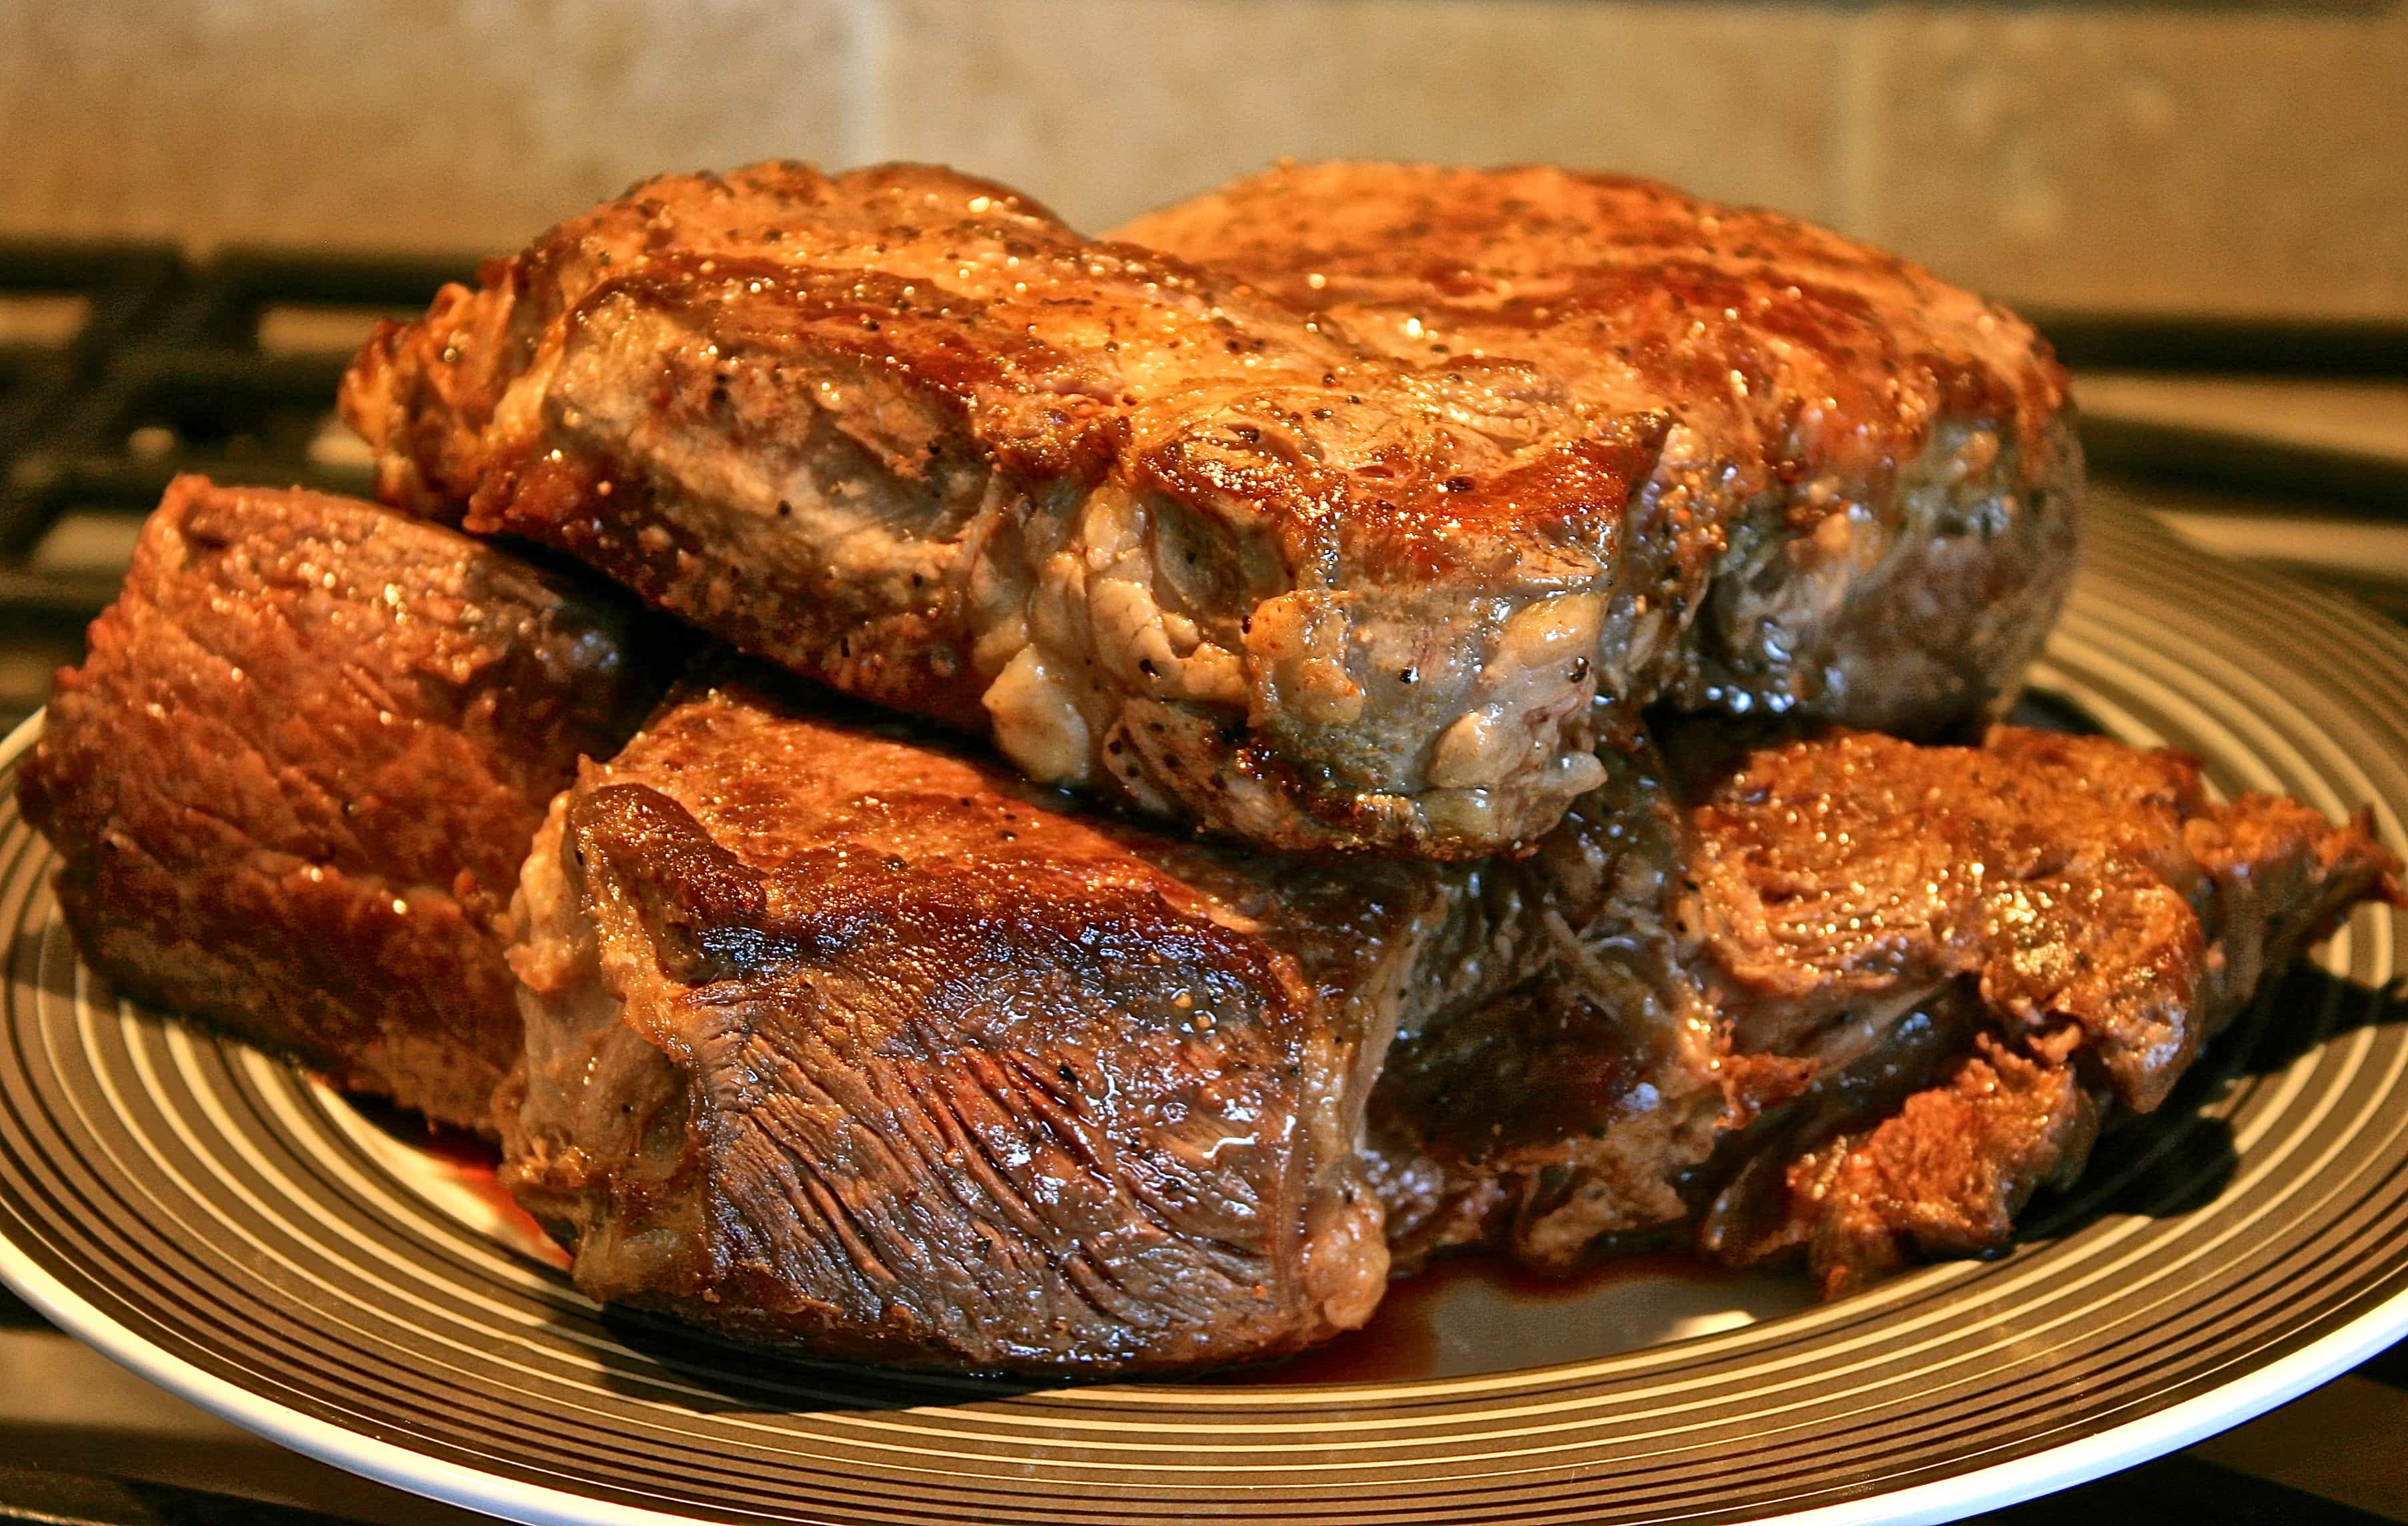
Once nicely browned, add all of your liquids and scrape bottom well releasing all of the intensely flavored bits from the bottom. You want all of this wonderful flavor in your broth. Don’t leave it for the pan to have!
Add all of the rest of the ingredients to be cooked except the onions, and return meat back to the pan submersing the pieces into the broth. Don’t forget your bay leaf!

Now top with your onions, keeping heat on just a little higher than medium, place rubber gasket inside lid making sure it is in there properly, place on lid and turn to line up handles and lock. Place the regulator on top.

Once the regulator is on, let the heat/pressure build up inside until the regulator starts to rock. Adjust the heat to a medium heat that keeps the regulator rocking steadily and sounds like the “tick-tock” of a clock.
You don’t want it rocking fast and hard.
If you turn the heat down a bit too much and the regulator slows and stops, immediately add a bit more heat to get it going again. It will only take you a minute or 2 to adjust it.
Once you have it at a nice steady rock, set the timer for 40 minutes and you’re almost done it’s just that easy! Here’s the regulator rocking!

When the time is up, for this recipe, you will simply “let the pressure drop on it’s own accord”. You don’t have to cool it down, it will still cook for awhile in the pot with the heat off.
So, turn stove off and carefully move the cooker to a cool spot.
After about 20-30 minutes all parts will have dropped, (you can hear them drop), because there won’t be any more pressure/steam inside. Take a knife or a fork to check first and just gently tilt the regulator. If there’s no more steam or air coming out, it’s safe to remove it.
Use hotpads or tongs, it’ll be hot. Pull apart handles to open, and place lid into the sink to cool. With tongs and a slotted spoon, remove all of the meat to a bowl adding none, all or some of the onions. (All or some of the onions left in the pot will get whisked into the broth.) It just depends on if you want any of the pieces on your sandwich or not.

Now, you can shred the meat entirely, or leave in chunks.
I like to leave it in nice chunks, but this part is strictly a personal preference. The meat will be VERY tender so either way is fine.
*I also pick out any large pieces of fat, too. Some like it, but I’m not one of them.

Lastly, heat the oven to medium broil, slice open your bread making the bottom half thicker to hold up to the sandwich, whisk the onions and a dab of butter until dissolved into the broth, skim off fat and drizzle some of the broth onto the insides of the bread.
Pile with the beef, top with provolone cheese, and broil until melted and inside top half is toasted. Place on top and serve with lots of broth for dunking!
I also enjoy lots of pepperoncini peppers with mine!
Some like to spread a little mayo inside, but I prefer mine without. Serve with cole slaw, potato salad or a nice garden salad, some fresh summer fruit and you’re good to go!
I so hope you give this one a try soon! And, if you’re still just, sadly, afraid of pressure cookers, you can also slow cook this in a large crock pot overnight. I’d cook it on low for at least 8 hours, but probably more like 10-12 would be better.
*I’ve always used my trusty pressure cooker for this, so the cooking time for a crock pot is a guess.
So, don’t be afraid, dust off that pressure cooker, or invest in one and give it a try. They’re easy and make so much sense to use, especially in the summertime!
And if you have any questions, please feel free to ask away! I’d be more than happy to help and guide you through it!
Enjoy life, venture out and say hello to the neighbors! They’ll be smelling it and wondering what you’ve been up to in the kitchen! 😉 Have a great day all!


Italian Herb French Dip with Red Wine & Provolone Cheese
Ingredients
Instructions

Kelly
Tuesday 30th of July 2013
Good morning! And thank you!! My hubby was in 7th heaven all weekend! He's hinted 3 times now for me to make them again soon! ;) :)
Joanne T Ferguson
Monday 29th of July 2013
G'day! Your recipe and photo looks so YUM, true! I could go for one of these RIGHT NOW too! Cheers! Joanne http://www.facebook.com/whatsonthelist