

These delicate, buttery little treasures from the sea can be a little bit difficult to find in our area, as they have been fished out. But they are slowly being reintroduced to the nearby ocean and bays, and being better regulated and protected from sea scallop hoarders. So when they do have some at our little stores, and they’re a decent price, we splurge once or twice a year and enjoy this delicacy of Buttery Garlic Seared Sea Scallops with great appreciation!
For years I wouldn’t even try them, as I was overly paranoid from being so deathly allergic to shrimp, that I shied away from almost any kind of seafood that I had never had before. But finally, I took the plunge, skin-tested for an allergic reaction, and knew that they would be perfectly safe for me. Especially since I’m not allergic to clams, oysters and mussels. Scallops fall into the same category, but when you’ve never had them before, there’s always that little shadow of fear sitting on your shoulder that whispers, … “What if…”. And that’s all it takes.

The first time eating them was scary enough, but I think I was actually more afraid to cook them and accidentally turn them into bouncy, rubber, super balls. But they’re actually VERY easy to cook, so long as you use a non-stick pan! (I once used a heavy-bottomed stainless steel pan…big mistake. Don’t do this.) The trick is to use a good old-fashioned, non-stick pan so that you can get that seared crust and have them not stick to the bottom of the pan like octopus tentacles onto a submarine coated with crazy glue.
Just get your oil and butter, and garlic if you wish, VERY hot. Almost smoking hot. Have your scallops already patted dry, on a plate and the tops seasoned generously with salt and pepper.
Then place them all around the outside edge of the pan in a circle like a clock, seasoned side-down. Don’t put any in the center, they just won’t get a nice crust. Sear the bottoms for about 1 1/2 minutes is all. Then when the bottoms are nicely browned to your liking, turn them, one at a time, going around the pan the same way you started. Sear again for 1 1/2 minutes. Then remove them one at a time to a clean serving plate.

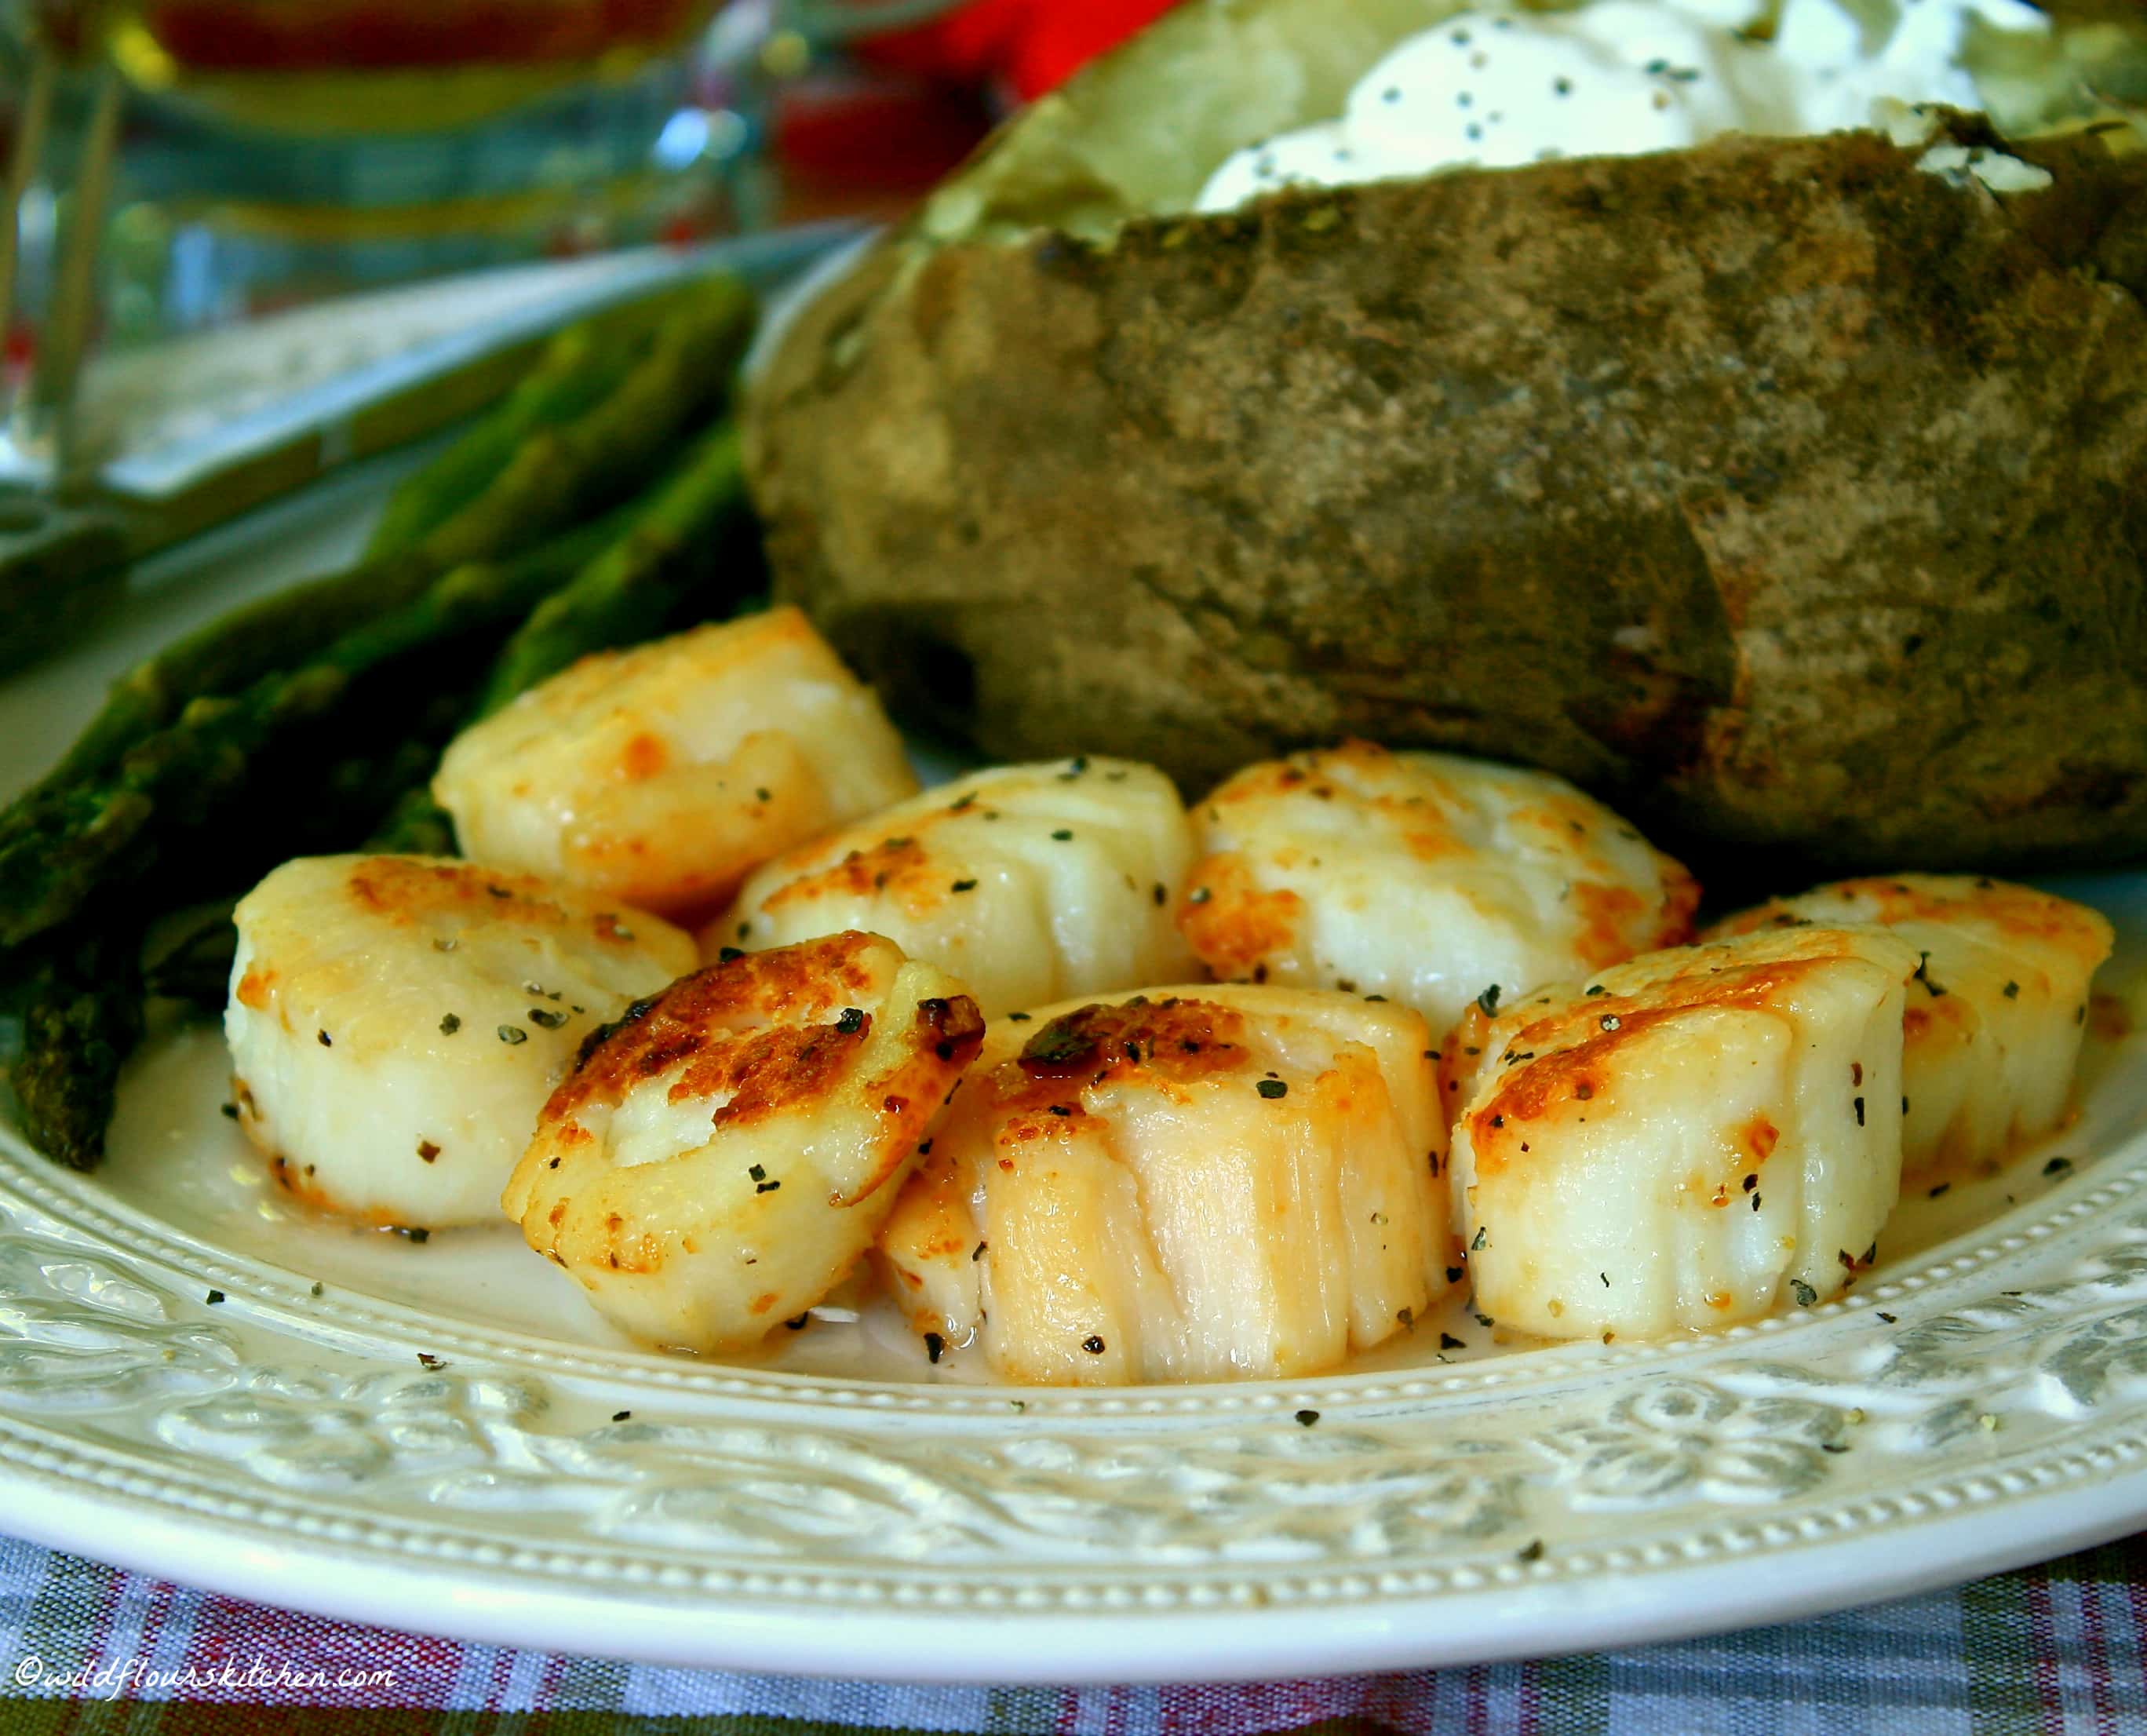
They will be pillow-soft and extremely tender, and almost melt in your mouth like butter! They have a slight “oyster flavor and consistency”, yet they aren’t grainy like oysters, and are much more mild than oysters, clams and mussels.
Though there are 1000’s of different kinds of scallops, they are basically broken down into 3 groups. Sea scallops, which are about 1 1/2 – 2 inches in diameter. Bay scallops which are very tiny, and often stir-fried for salads and pasta dishes, and are only about a 1/2 inch in diameter. And then you have your Giant Sea Scallops which are huge!! The “filet mignon of the sea”! (I’ve actually never even seen one, but they do exhist!)
Try to purchase your sea scallops “dry”, and not packed in a milky substance, and make sure you’re not getting ripped off. Sadly, a lot of stores will try and sell you “scallops” that are nothing more than shark meat that have been cut out in perfectly even and uniform disks that look as if they used a cookie or biscuit cutter. Real scallops are natural creatures from the sea, and are far from uniform in shape and size. So buyer beware and be careful.
And that’s really all I can tell you about them, myself. Your local fish monger will be able to answer any questions you might have, and be able to tell you exactly where the scallops have come in from, too. So don’t be afraid to ask.
If you’ve been afraid to try and cook them at home, don’t be. They are so easy and fun to work with, take just minutes to cook, and make for one fancy at-home date night! 😉
I hope you enjoy, try these soon, and that it makes for a very special evening for you and your loved ones or guests!
I only recommend using a non-stick pan for this, as stainless steel can make them really stick!


Buttery Garlic Seared Sea Scallops
Ingredients
Instructions
Notes
I served this with huge baked potatoes and oven roasted asparagus per my hubby's request. But scallops also go really well with simple pastas, or grilled steaks for a surf 'n turf-style dinner! They can be served as a main dish, as I have done here, or you can serve just 2 - 3 per person as an appetizer if you wish.
